It’s no surprise that I love drawing hair. You can see all my hair tutorials here. In this post, I am going to teach you how to draw a hairbrush. This is a super easy step-by-step tutorial. It doesn’t matter whether you are a kid or an adult, I will break down how to draw a hairbrush, how to draw a comb, and an afro pick step by step. This post includes affiliate links. If you do decide to purchase something, I will make a commission at no extra cost to you. For more information, please read my entire Privacy Policy here. Please note, that I usually use an iPad Pro and an Apple Pencil to create all my illustrations. I use the Procreate app and I find it super easy to use. But you can use any tool - pencils and paper or Copic markers or Photoshop because the drawing method remains the same.
Start with the base and general shapes
Let’s start with the base. We’ll start with a simple oval first. Please note that I am drawing this hairbrush in a cartoon style. Next, I’m going to draw the inner edge of the hairbrush. Now, I’ll draw the handle of the hairbrush. Remember, the best way to draw any object is to break it down into simple shapes.
Drawing the bristles of the hairbrush
Now, I’ll start drawing the bristles. I’m going to draw a soft-bristled hairbrush because it’s easier to draw for beginners. We’ll begin by drawing little U shapes inside the hairbrush along the edge. We’re nearly done with the outline of the hairbrush. But it needs some cleaning up, so erase the overlapping lines. And let’s draw the outer edge of the bristles. I’m going to draw soft lines for this. Our hairbrush is beginning to take shape!
When drawing the lines, remember to vary the length of the lines and the spacing between the lines - this makes the hairbrush look more organic and natural. The same goes for the dots at the end of the hairbrush. We’ve finished learning how to draw a hairbrush!
Coloring the hairbrush
Next, I’ll color the bristles a light pink.
Drawing a comb
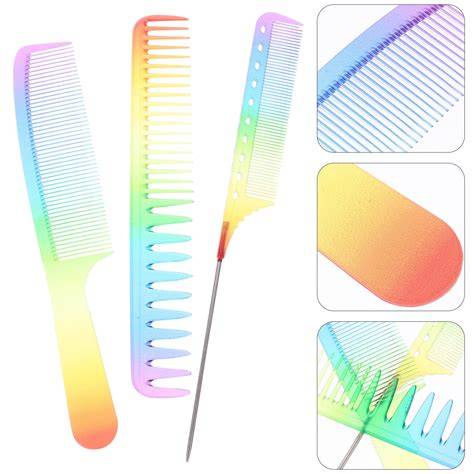
Next, let’s draw a comb. Curly hair girls love combs because we can’t really use brushes - it messes up our curls. So, let’s begin with the comb by drawing a nice big C shape. Next, draw the inner C to indicate the inner part of the comb. Now, I’ll draw the handle of the comb. I’m going to draw the teeth of the comb now. To make things easier, I’m going to draw a rough straight line just to help us draw the comb’s teeth. And, using this line as a guide, I’ll draw the teeth. The comb is nearly done. I’m just going to erase the rough lines so that I get a nice clean outline. Next, I’m going to color this comb. I’ll go for purple this time since I really love purple. Next, it’s time to color the teeth of the comb. You can color it 1 color or color it multiple colors. I’m going to color it pink and blue because my mum gave me a comb just like this when I left for college. And voila! We’ve finished learning how to draw a comb.
Drawing an afro pick
An afro pick is used widely for kinky curly hair. Let’s begin by drawing a handle first. Now, we’ll draw a C shape but pointing downwards. The C is more squarish here. Next, I’ll draw the inner C shape for the afro pick. Now, I’ll draw a straight line to make it easy to draw the teeth of the afro pick. And now, just like how we drew the comb earlier, let’s draw the teeth one by one. Voila! We’ve learned how to draw an afro pick. Now, we just have to erase all the rough lines and color it any color you want! I’m going to go for magenta pink. And voila! We’ve finished drawing 3 types of hair tools.
How To Draw Hair Dryer And Comb Easy For Kids | Hair Dryer Drawing Step By Step | Easy Art Kids |
Putting it all together
I hope this tutorial was really helpful to you and you were able to learn how to draw a hairbrush, a comb, and an afro pick. Drawing tools in a cute cartoon style is easy once you break them down into simple shapes, as you can see from this post. If you want to see more tutorials on drawing kawaii animals and kawaii things, please leave a comment below on what you’d like to see next!
My old bud Ilaria (we’ve been friends on Instagram back when I had Instagram) created this course! And believe it or not, there is not 1 single good online course about learning how to draw kawaii art and then making physical stickers on the internet. A sketchbook, Photoshop, and a graphic tablet so that you can draw the kawaii characters. And if you are really keen on improving your drawings or you want to create cute kawaii animals and kawaii people, check out this second course by Sara. Sara teaches you how to draw anything in a nice kawaii style.
- Break complex objects into simple shapes before adding details.
- Vary line length and spacing to create a natural look for bristles.
- Color choices can follow a playful, cartoon aesthetic.
- Use guides when drawing repeating elements like teeth or bristles.