Puffy paint made with shaving cream and glue creates a thick, goopy texture that dries into a soft, raised, snow-like surface. This easy, kid-friendly project uses only basic household items and delivers fast, responsive results that invite exploration through color and texture.
Materials you'll need
- Glue
- Shaving cream
- Paintbrushes, foam brushes, or sponges
- Paper or other painting surfaces
- Food coloring or tempera paint for color
- Squeeze bottles or plastic bags (optional for neat packaging)
Step-by-step tutorial
- Mix equal parts shaving cream and white glue until completely combined. The mixture ends up thick and goopy-and dries up puffy, like snow!
- Add color: a few drops of food coloring or tempera paint to each container and stir. Note that the color will darken as the paint dries.
- Choose your application tool: you can use paintbrushes, sponges, or a spoon to glob or dab the paint onto the paper. Experiment with different tools to achieve varied textures.
- If the mixture is too thick, thin it with a little more glue or shaving cream as needed. The more shaving cream, the fluffier the texture, but be mindful of drying time.
- Apply puffy paint to your surface and let it dry. The paint stays fluffy and raised as it dries, creating a snowy, wintery scene.
- Store leftovers in an airtight container to maintain puffiness for a short period; over time, the texture may degrade into a goopy consistency.
Tips and variations
- For a white snow paint with sparkle, mix in glitter. A blue glitter version can enhance wintery scenes.
- To customize texture and color intensity, adjust the ratio of shaving cream to glue; more glue yields denser paint, more shaving cream yields lighter, fluffier texture.
- Try adding water in small amounts if the paint becomes too thick to squeeze or manipulate.
- Transfer to squeeze bottles or zip-top bags for cleaner dispensing and less mess.
- For a color-rich result, prepare several color cups and layer or blend colors on the paper.
- Use Q-tips, spoons, or fingers to explore how the texture interacts with different painting surfaces and patterns.
Practical notes for families
The recipe is quick to assemble-often under five minutes-and is a favorite for toddlers and older children alike. Although finger painting with shaving cream paint can be messy, cleanup tends to be straightforward, especially with a protective surface and quick wipe-downs. This craft supports sensory exploration, color theory experimentation, and early fine motor practice through squeezing, dabbing, and layering.
Adaptations for different ages and settings
You can scale the recipe up or down and modify ingredients to suit younger children or older kids. For younger toddlers, omit flour or other thickening additives and rely on equal parts shaving cream and glue with a light touch of color. For older children, introduce more complex color mixing and textures, or combine with printmaking techniques by pressing textured materials into the paint.
Color and texture gallery
- White puffy paint with glitter for snow scenes
- Blue and white swirls to mimic icy textures
- Bright primary colors layered for colorful snowy landscapes
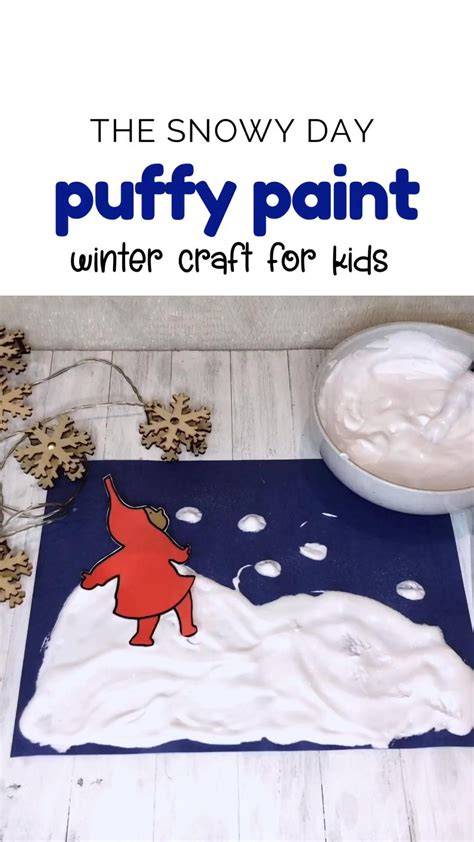
Ready to try a simple, effective puffy paint recipe that doubles as a sensory activity and a creative project? Mix equal parts shaving cream and glue, add color, and experiment with tools and surfaces to create a wintery, puffy artwork that kids will love to make and share.